
| Title: | Rapattoni Magic 8 Workstation Setup |
| Submitted by: | Rapattoni Network Support |
| Issue: | How do I set up a workstation to access Rapattoni Magic 8? |
This documentation walks you through setting up a workstation to access Rapattoni Magic 8. It involves the installation and configuration of the Microsoft SQL Server Client and the installation of the Rapattoni Magic 8 Client.
NOTE: If this document does not answer your questions please do not hesitate to contact our Network Support Department at (866) 730-7115.
For the purpose of this document we will assume that the R: drive has been mapped to the magic share (Contact your local administrator if you need help with this).
A. Microsoft SQL Server Client Setup
NOTE: Close all other programs before starting this process.
1. Insert SQL Server CD, or Small Business Server Disk #2 into CD-ROM drive.
2. Run ‘setup.bat’ from the root of the CD-ROM.
3. You will get the following error message. Please click OK.

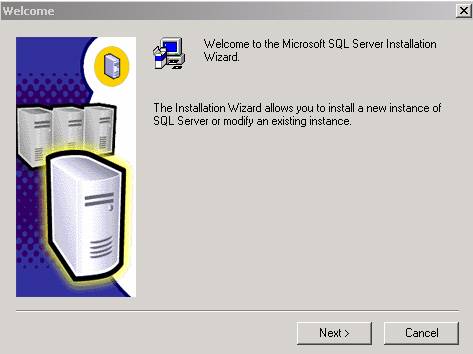
4. Click Next to begin the installation wizard.
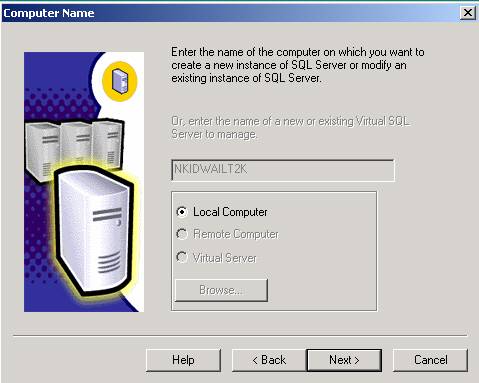
5. Make sure the Local Computer radio button is selected and click Next.
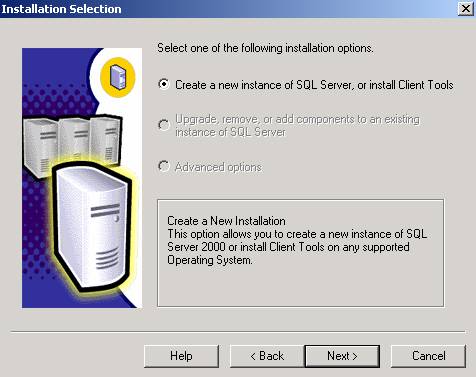
6. Select ‘Create a new instance of SQL Server, or install Client Tools’ and click Next.
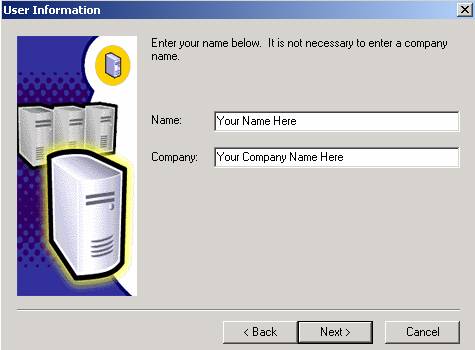
7. Enter your Name and the Company name.

8. Click Yes to agree to the license agreement.

9. Type in your CD-Key that is located on the CD case and click Next.
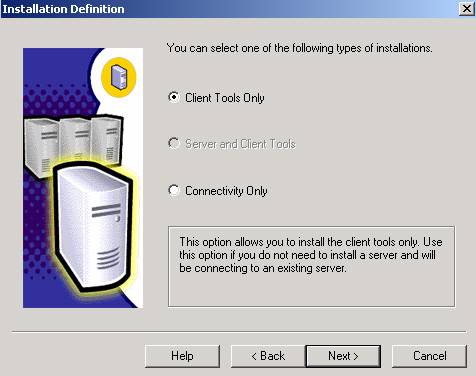
10. Select the Client Tools Only radio button and click Next.
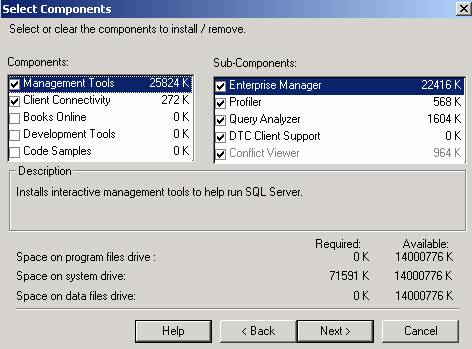
11. Place a "check mark" for Client Connectivity and Management Tools under components. For Sub-Components, place a "check mark" for Enterprise Manager, Profiler, Query Analyzer, DTC Client Support, and Conflict Viewer.
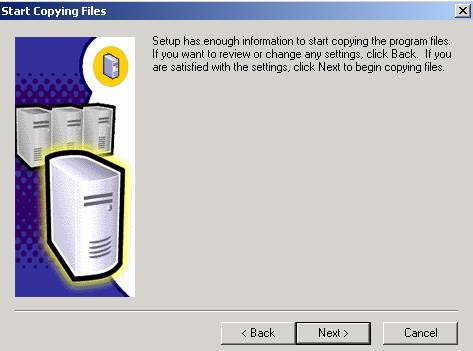
12. Click Next to start copying the necessary files.
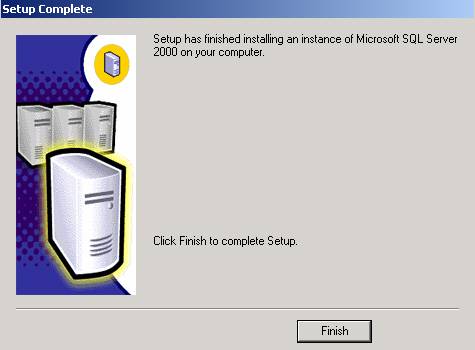
13. After all the files have been copied, click Finish. After this process is complete, it is time to configure the SQL Client Network Utility.
B. Configuring the SQL Client Network Utility
![]()
![]()
![]()
![]()
1. You need to open the setup form for the SQL Server Client Network Utility. This can be found under your programs.

2. You need to disable all protocols except TCP/IP. TCP/IP should be the only enabled protocol. Next, click on the Alias tab.
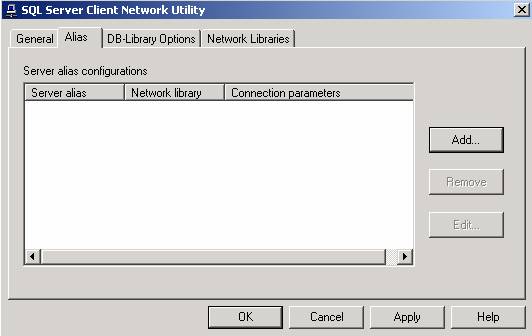
3. After clicking on the Alias tab, please click the Add button.
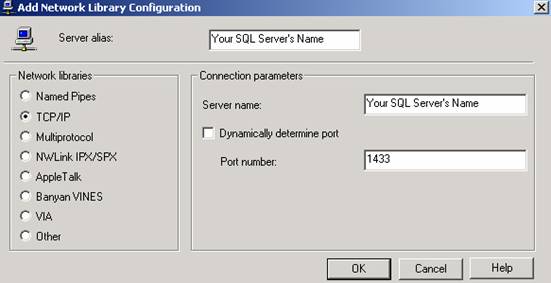
4. Select the TCP/IP radio button under Network Libraries. Then, enter your SQL server’s name under Server Alias. Also, make sure to uncheck the box for ‘Dynamically determine port’ and click OK.

5. Your screen should now look like this under the Alias tab. Click OK.
6. Finally, the last step to installing the SQL Client is to install the latest SQL Client Service Pack. As of 01/23/03 this is Service Pack 3 for MS SQL 2000. You can download it from: http://www.microsoft.com/sql . Please consult your Network Administrator for assistance with this installation or contact Rapattoni Network Support.
After downloading it, run ‘setup.exe’ to install the service pack. Use all the default settings during the installation process.
C. Magic 8 Client installation
1. Navigate to r:\rap\ver8\install\client and run ‘setup.exe’
NOTE: R:\ denotes that the drive has been mapped to the Rapattoni Magic share through drive R. Please contact your Network Administrator for further assistance.
1. The ‘setup.exe’ file launches the Rapattoni Magic 8 client installation.
2. When prompted to make choices, leave the screen defaults as they are, and click the appropriate button to continue. When the setup is complete, click the Finish button.
3. This entire process should produce a shortcut to launch Rapattoni Magic. You can access it from your programs menu (Start-Programs-Rapattoni Magic).
If you have any questions regarding this process, please feel free to contact Rapattoni Network Support at (866)-730-7115.
